
This article explains how agents create and manage student applications in Apply, through the agent-led application flow. It lets agents create a new applicant, complete the essential tasks, and progress through the full application — while keeping the applicant informed and in control of final decisions. Understanding it will help your team know what agents can do on behalf of your applicants.
1. Starting the applicant-creation flow
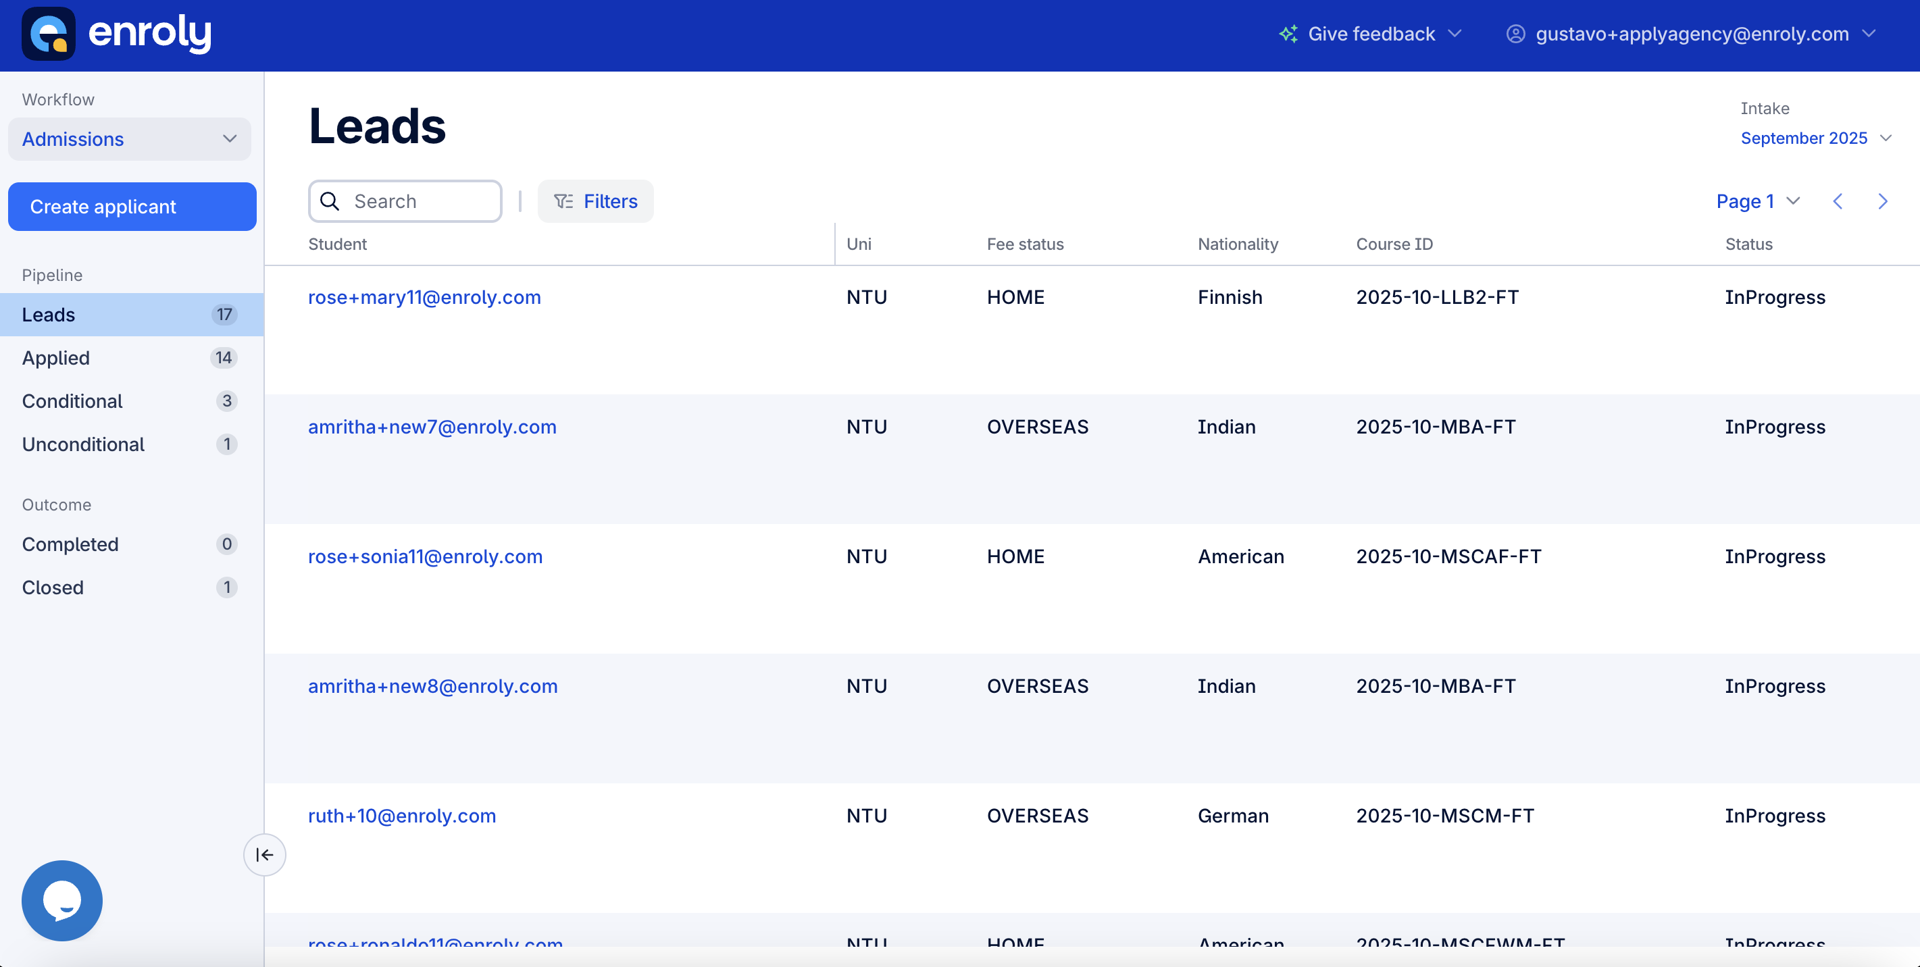
- Agents begin a new application by selecting Create applicant in the spreadsheet view of the agent interface.
- This is available to all agents with valid institution mappings.
- It opens a side drawer where the agent enters the initial applicant details, simplifying the first steps without navigating multiple pages.
2. Completing the "Create applicant" drawer
The drawer captures the key information needed to create the applicant profile and pre-complete the first essential tasks:
|
Task section |
Required fields |
|
Registration |
Email address, preferred name |
|
Contact details |
Nationality, date of birth, phone number |
|
Fee status |
Fee status |
|
Programme choices |
Intake, study level, course |
These mirror the fields students complete when applying directly, keeping data consistent across both routes.
Selecting an institution:
- Agents select an institution from a dropdown, which only shows institutions the agent is mapped to in CAS Shield and not blocked from in the Agent Management Config — so agents only work with institutions they're formally connected to.
The Intake field in the Create applicant drawer can differ from the intakes shown in the spreadsheet view. The drawer's intakes are based on the specific institution selected, so they show only the intakes configured for that institution — whereas the spreadsheet view reflects all the institutions the agent has access to.
Confirming consent:
- Before submitting, the agent must tick a mandatory consent box confirming they've been authorised by the applicant to prepare, submit and manage the application on their behalf, and to share their personal data for those purposes. This supports legal and ethical compliance.
3. Applicant-creation rules
- The email address must be unique — it can't already exist in the system.
- A duplicate email shows an error and blocks creation, preventing duplicate accounts.
4. What happens after creation
Once the applicant is created:
- A new applicant file is created, visible in the agent's spreadsheet view under the Leads stage.
- The agent is taken into the applicant's view of the file, so they can continue completing tasks immediately.
- The tasks completed in the drawer (Contact details, Fee status, Programme choices) are already marked Done.
- The agent can continue working on, and even submit, the application before the applicant confirms agent representation.
- An agent representation email is sent to the applicant, prompting them to review and authorise the agent's involvement.
5. The applicant file (agent view)
Opening an applicant from the spreadsheet shows their full file. It mirrors the applicant's own view, with a couple of agent-specific differences:
- The applicant's email address is shown in the navigation menu.
- A Return to applicants button takes the agent back to the spreadsheet view.
Agents can:
- Complete all tasks in the Your Information section.
- Complete the Application section, including submitting the application.
- Fulfil condition tasks tied to conditional offers.
- Fulfil payment tasks.
Agents cannot:
- Complete offer acceptance tasks (conditional or unconditional) — these are reserved for the applicant.
These restrictions keep the applicant in control of the final decisions, while still letting agents support the bulk of the process.
6. Navigation and task sync
- Agent navigation covers Home, Your Information, Application and Offers.
- Task statuses and behaviours match the applicant experience.
- All task data and completions sync in real time between the agent and applicant views.